

Rohan talks us through this new feature, designed to help in choosing preferred engineers for each job.
Do you have engineers who are most suited to work on a particular site, or who you feel are the best to work on that site? With the new Preferred Engineers feature, we’ve created an easy way to find those engineers when you’re deciding who to issue a job to!
Preferred engineers will always appear at the top of the issue job screen, and will be indicated with a crown and a special colour to make them stand out.
Setting this up is really simple and only takes a few clicks, and can also be done in bulk through the client wizard!
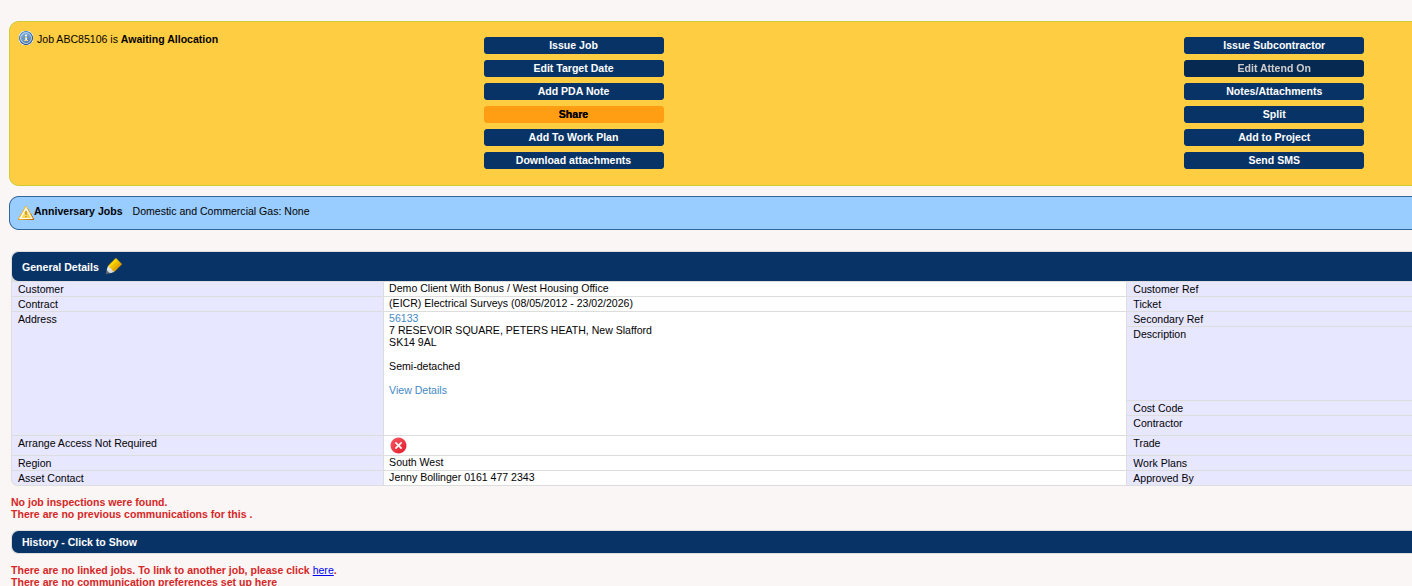
For updating a single asset through the job screen, if you look at the address box in the job’s general details, you will see a “View Details” link, which will bring you to all of the asset’s details.
If you like, you can make a detail group specifically for this – to make it clearer who the preferred engineers are – although this is not needed for the feature to work.
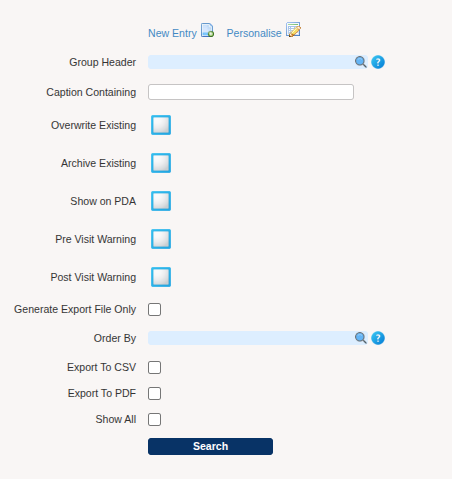
To make a detail specifically for your preferred engineers, you can go to setup, then to the “Details” screen, and finally to the “New Entry” button at the top.
This will bring you to the following page, where you can fill in the name for your detail group, the name of the detail itself, and what the details will be associated with in the system, which in this case, will be “ASSET”.
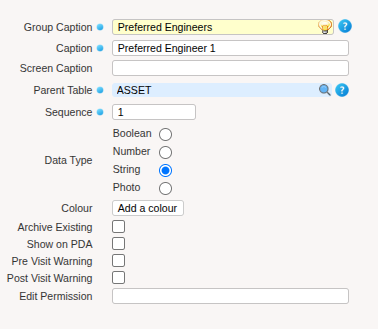
Clicking continue will then save the detail, making it appear in the asset details screen, where you can fill in the names of your preferred engineers.

Once this has been saved, the system will search through all of the asset details looking for the name, and once you get to the issue job screen for any job on that asset, you will see the engineer highlighted in all their glory!

The engineers shown here will still include details like whether they match the job’s primary or secondary trade, and if they’re in the same region as the job, so you can still use these filters to help choose the best engineer for the job!
Bulk Adding Preferred Engineers to Sites/Assets
As mentioned previously, you can also do this in bulk to multiple assets at a time. On the create job screen, fill in the name of the customer you want to edit the assets for, then click the green plus icon to the right of the asset live search box.
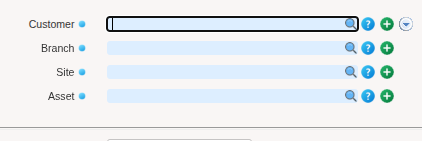
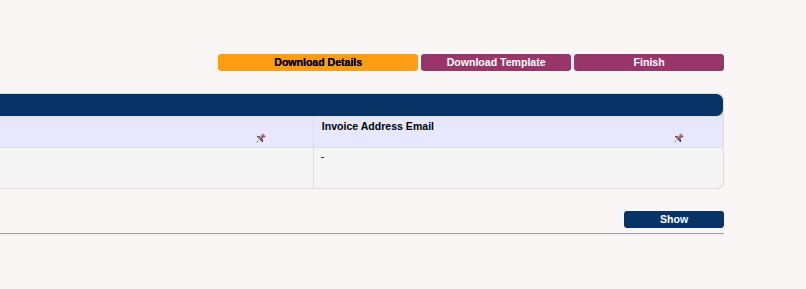
After clicking that, you will be taken to the asset step within the client wizard screen. In the top right corner, you can click the “Download Details” button to download a spreadsheet of all assets and details for that client.
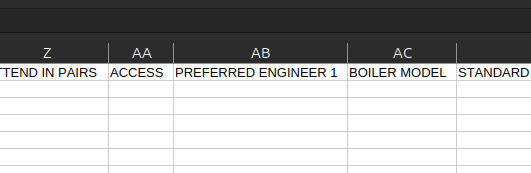
Make changes to the file you have just downloaded in your column for your preferred engineer. Once you have made the changes you want, you can save it and re-upload it through the “Address File” upload button on the same page.

All of the assets will now be updated, allowing you to see all of your preferred engineers for that customer!
We hope you’ll enjoy exploring our newest feature, and, if you have any questions at all, please give us a ring!
PS: don’t forget to check out previous New Feature Alerts:
NEW! Secondary Job Reference added to the Status Change Report

